Install ejabberd on Windows 7 using Docker Toolbox

Did you read our previous tutorial how to install ejabberd on Windows 10 using Docker Desktop? Do you have a Microsoft system older than Windows 10? Don’t worry, instead of Docker Desktop you can use Docker Toolbox, and this tutorial guides you over the process.
This tutorial explains how to get any ejabberd version installed on Microsoft Windows 7 or 8 (and probably others) 64bits using Docker Toolbox and ejabberd-docker-install.bat.
Docker Toolbox is an old and obsolete program, suitable for Microsoft systems older than Windows 10. If you have Windows 10, you will surely prefer to use Docker Desktop, check our tutorial how to install ejabberd on Windows 10 using Docker Desktop.
1. Install Docker Toolbox
First, download and install Docker Toolbox, specifically the file DockerToolbox-19.03.1.exe. The process is pretty straightforward, and it will ask you to restart your machine.
After installing that file, you will get several icons in your desktop:
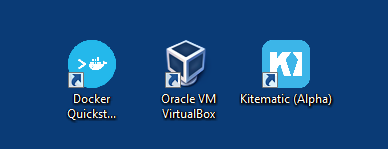
Now run Docker Quickstart. It will take some time to complete.
2. Download ejabberd-docker-install.bat
Download ejabberd-docker-install.bat to your machine.
3. Edit some install options
Edit this batch file with your favourite text editor and set at least the PASSWORD option for the new administrator account.
Additionally, you can set some other options: HOST, USER, VERSION, and PORTS.
Please notice that you cannot configure the installation directory. The reason is that Docker Toolbox can only mount volumes from C:/Users/Your-User. So, the script must install your ejabberd files there.
4. Run the script
When you run the script it will open a console window to inform what it is doing: download the ejabberd image, create the container, register the admin account and prepare the configuration file…
If installation completes correctly, you can close that window and proceed to next step.

If there was any error, solve it and run the script again. You can delete the script and download it again, or delete the ejabberd container, or delete the ejabberd installed directory… and run the script again.
5. Start ejabberd
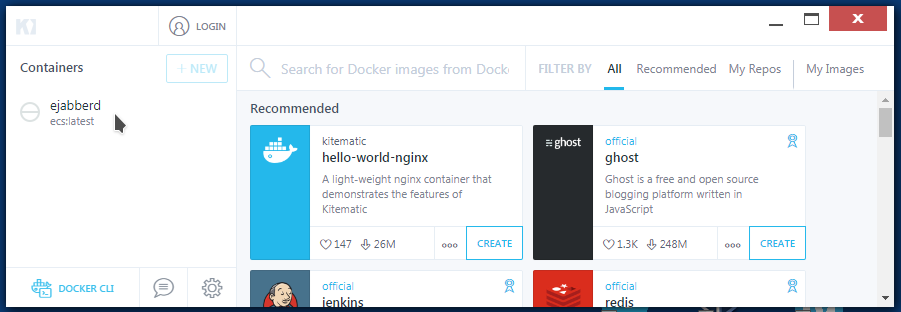
Now you can finally go to Kitematic (alpha), where you can see the new ejabberd container. Simply click the “Start” icon to run this container:
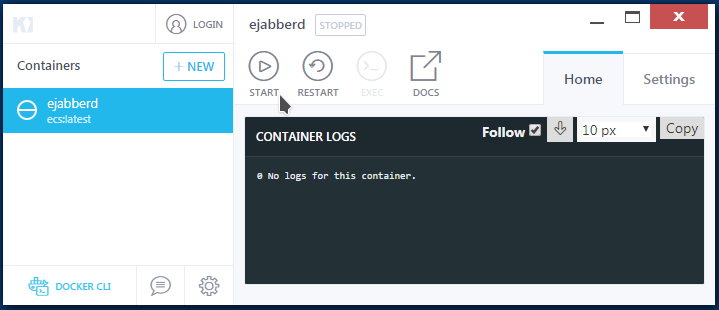
After a few seconds, ejabberd is started in that container and accepting connections.

Next steps
If you are here it means you have ejabberd installed and running in your machine, and you may be asking yourself how to administrate it. Here are some remarks:
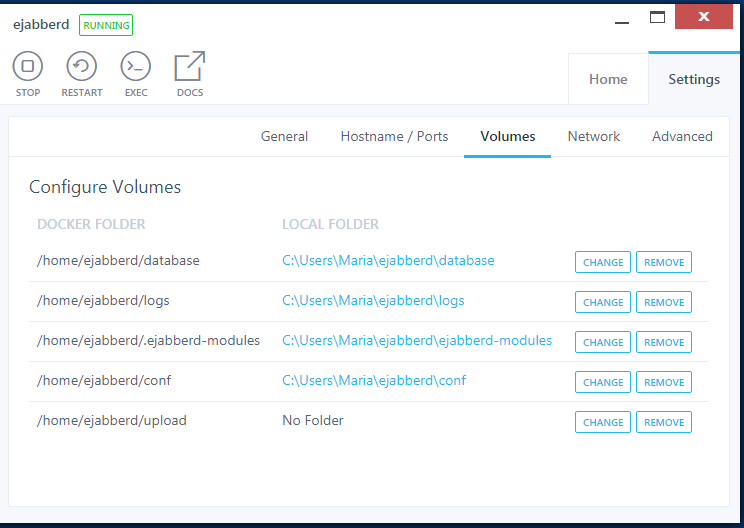
ejabberd.yml, database and logs
The configuration files, Mnesia internal database spool and logs directory are available for you to edit and inspect in Windows, in C:/Users/your user/ejabberd.
There is also a ejabberd-modules directory where you can later put additional modules from ejabberd-contrib, or any other place.
Whenever you update to a newer ejabberd, it is a good practice to backup the conf and database directories.
ejabberd WebAdmin
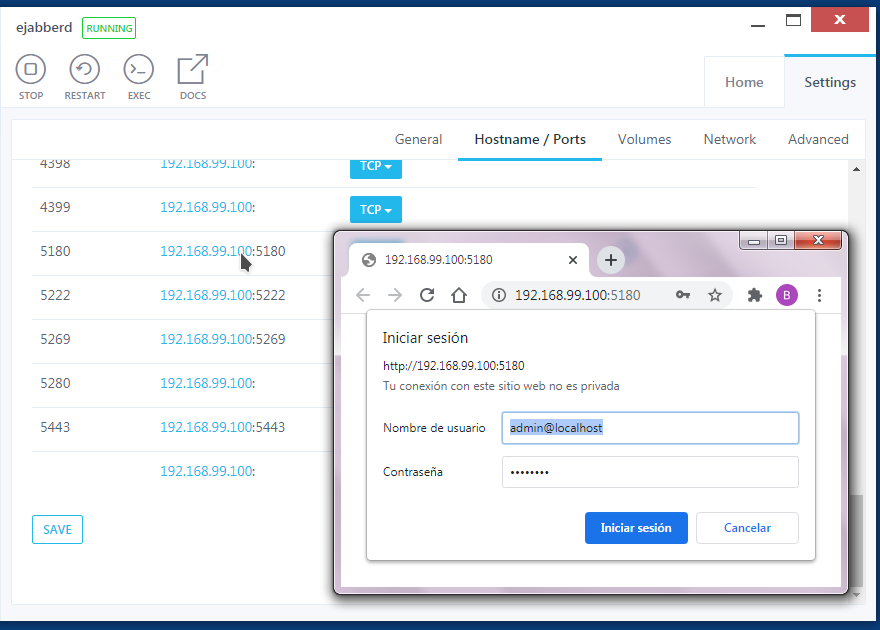
To open a web browser pointing to ejabberd webadmin, go to Settings » Hostname/Ports and click on the 5180 port.
Alternatively, you can open it yourself by going to http://localhost:5180` (swaplocalhostfor the value of theHOST` variable if you changed it in the installation script).
You will be welcomed by a browser authentication prompt, where you should type in the login details defined in the installation script: USER@HOST and PASSWORD. You will then see the usual ejabberd webadmin console, where you can easily manage your server instance. That’s it!
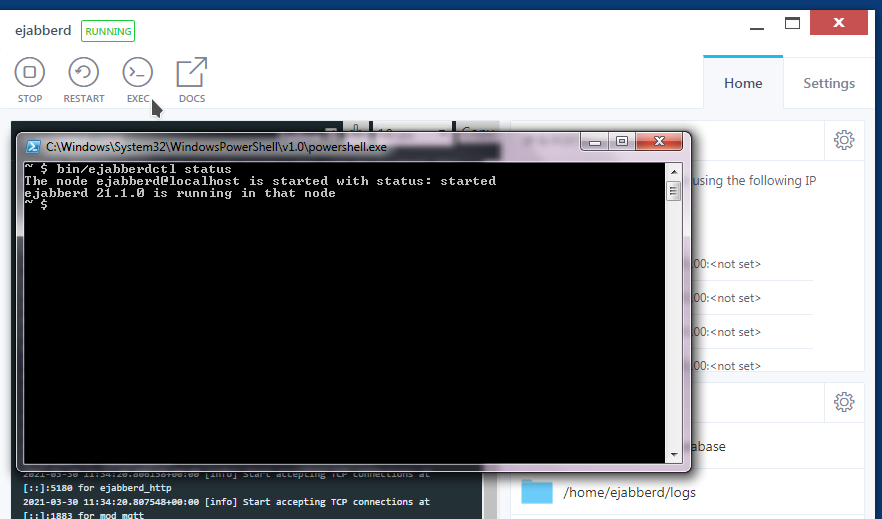
CLI with ejabberdctl
The EXEC icon opens a console in the ejabberd container where you can use ejabberdctl, and that means you can use any ejabberd Administration API.
ejabberd-contrib
In addition to the modules already included in ejabberd releases, there are several more published in ejabberd-contrib repo, and many other in internet if you search, and you can even write your own modules.
To start with all this, open a CLI as explained previously, and execute:
bin/ejabberdctl modules_update_specs
For the next steps, check this ejabberd-contrib documentation.
Update from old binary installer
If you already have ejabberd installed using a binary installer downloaded from ProcessOne website:
- Stop ejabberd using the “Stop ejabberd” desktop shortcut as usual
- It is always a good practice to backup the
confanddatabasedirectories. - Uninstall ejabberd
- Follow the steps described in this tutorial
- Check ejabberd runs perfectly with the basic configuration and empty database.
Now it’s time to get back your configuration and database:
- Stop ejabberd in the Docker Desktop
- Copy your old
confanddatabasedirectories to the new location - Start ejabberd and check if it runs correctly now too.
Update to a new ejabberd version
When a new ejabberd version is released, go to ejabberd Docker Hub, and check if the new version is available in Tags.
How to install it?
- Delete your old
ejabberdcontainer - Edit the
VERSIONoption in ejabberd-docker-install.bat - And run the script
It will download the new image and create a new container.
If something goes terribly wrong
As mentioned previously, if something goes terribly wrong, don’t worry! You can delete the script, or the installed directory, or the ejabberd container, and start from scratch.
Docker Desktop in macOS and Linux
Docker Desktop is also available for the macOS and Linux systems. While the above installation script is designed for Windows, it could be modified for these other platforms as well. This means you now have several methods of installing and running ejabberd on any given operating system: using a package manager (like apt on Debian or brew on macOS), using a Docker container, with a binary installer (on Linux) or building from source.
Questions, problems, suggestions
The batch script to use Docker and this tutorial may have issues or mistakes. Please add a comment here, or join the ejabberd chatroom, or send an email to the ejabberd mailing list or fill a bug/suggestion in the ejabberd tracker or docker-ejabberd trackers.
Photo by Rinson Chory on Unsplash
